About years ago I used to play with a band called Cycle. In April last year, unbeknownst to me, a double album/CD of our music was released on the Rise Above Records label. (Who knows what happened to the rights and royalties!!)
Anyway, the release dug deep into the veins of nostalgia and the bass player sent me a picture of the Onkletator, a synthesiser that was used in the band, flying in nebulae somewhere in a universe. His background is in mechanical engineering and rather than use photo editing software he cut a hole in a universe picture and stuck the Onkletator picture behind it. A very fine piece of art work.
I thought that it would be good to make the Onkletator really fly through the universe in an animation so, I looked at how it might be done, and found Blender.
Blender is a totally free of charge 3D and 2D animation suite. It does 3D editing (can even be used to make models for 3D printing), shading, textures, animation with automation, and all the rest. It is free to use but, if you use it and like it please make a donation. Since I found Blender the whole subject of animation is hard to put aside.
I would like to make an animated music video for the Cycle number "Dawn Of A New Life", DOANL. It would start with the Onkletator way out in the universe with an introduction banner explaining that the band has been called for a gig.
The Onkletator would fly through nebulae, and a black-hole to return to the Solar System where it spirals towards Earth and parks in orbit. The Van would disembark from the Onkletator like a shuttle, and fly down to Earth where it would land in the Working Men's Club car park.
The rear doors of the van open, and the bands gear flies out of the van into the venue and sets itself up on the stage. There will be a figurative representation of the band members on stage while a guitar solo is played and finally as the last notes of the song fade out the van loads up and flies away again.
So, nothing ambitious!!
My first sortie into Blender was making various models. First, the Ford Transit, long wheelbase, two-litre, petrol van - just like the one we had in Cycle. Then I went on to make the Onkletator, the Working Men’s Club including: stage, tables, chairs, carpets, wallpaper, glasses, bottles, opening fire doors, and a clock.
That's a pretty deep dive for someone that has never used Blender before.
The Blender interface is great when you get used to it but not easy to start with. It is a real paradigm shift compared with other photo and drawing packages that I have used like, Gimp, Paint Shop Pro, LibreOffice Draw, Inkscape, and Visio. There is method in the apparent madness of Blender's user interface and, as I got more used to it, I could work much more efficiently. If you are struggling with Blender, keep at it, keep watching the videos, join Blender Cloud for the tutorials, it really is worth it.
To construct the van model I got as many images as I could of similar vans from Google, and chose the most likely candidates. Ford brochures about the van from the 1970s gave me the overall dimensions so, in Gimp, I flattened and removed perspective from the images that I had, front, rear, and sides, and adjusted them to all have the same common dimensions. I imported the images into Blender aligned to axes, and made a box around them. I then added edge loops around the box aligned to notable features on the van, and adjusted the locations of vertices to line up with the van's features, first from the side, and then from each end. I built models of details like, headlamps with spotlights inside them, radiator grille, wheel arches and wheels, trim, windows, and assembled them into the main model. The doors are connected by “empties” so that they can be hinged. The exhaust pipe includes a particle system to emit blue smoke - just like the real thing!
If you would like to play with the van, download and install Blender. Then you can download the Blender van model file here.
SHA256 hash of VanModel03.zip: df75821b352bbf0c4a1588e2bfe7a0b545f9a24b04e14edea740cbe0bf934c42
To calculate a file hash in windows see this tip about using CertUtil
I think that the result does the job - detail is not brilliant but the van is not intended for close-ups. If I did it again I would probably do it in a similar way but better and easier.
Back to the models, this video shows the van model and its features. There is no interior because most shots of it in my planned video would be of the outside except for the loading doors. The van has working lights (you need them for flying in space to see where you are going) and the van doors open and close to get the gear in and out. The doors open wide enough so that you can hit passing cars and knock cyclists off their bikes, just like a real van.
One band that I was with had a Transit with a single, upward opening, rear door - it was great because it kept the rain off, and cyclists for miles around were really grateful.
My next models were nebulae (I found great ideas in YouTube and particularly from Mark Kingsnorth. I found that most sources of information that have anything to do with nebulae end up coming back to him so if you want to know how to create them, that is the place to go, just search "Mark Kingsnorth nebula".
Initially I projected the nebulae and stars onto Blender's "World" object. This is the farthest object that you can see in Blender. However, the World is so far away that as an object moves through space there is no relative movement in the stars. I ended up making two very large spheres, say 2 kilometers in diameter and projecting the stars and nebulae on them. One had stars and nebulae, the other only stars and this was where I built the Solar System.
Take a look at this video, it is the space flight for the first part of my Cycle inspired music video. It introduces the video, and shows the Onkletator and the van. The van then forges on through nebulae and a black hole into the second sphere where the Onkletator spirals through the Solar system meeting Saturn and Jupiter on the way and eventually parks next to the Earth. The cargo bay of the Onkletator opens, the van's lights come on and the van heads for the Earth and the Next Great Gig.
Bear in mind that this is so far just a proof of concept, there is still loads to do. The video needs in flight cut in shots of the mixing desk control panel, band members in the control room, all sorts of stuff. It may never be finished but it's fun to do.
I have created models for the band equipment, WEM PA, etc... and I have made a model of a Working Men's club based on Wingate Constitutional Club where we played many times.
Here is a video look around the model. Look out for opening fire doors (one mounted the wrong way round - easy to fix in Blender, I won't have to get someone in to fix it!), opening bar top, operating beer tap, glass half full (I am always an optimist!), and of course the WEM PA.
Look out for opening fire doors (one mounted the wrong way round - easy to fix in Blender, I won't have to get someone in to fix it!), opening bar top, operating beer tap, glass half full (I am always an optimist!), and of course the WEM PA.
If you would like to play with the club model, download and install Blender. Then you can download the Blender club model file here.
SHA256 hash of TheClub-20210606-11-ModelExample.zip: a78e2f4914e73d60853811daefe7e1282f10aa963886b06c2dc6b28d36622861
Tip: To calculate a file hash in windows see this tip about using CertUtil
The ultimate idea is to land the van in the car park and have the gear fly out of the van, through the fire doors onto the stage, and to find some way of having a stylised version of the band play a solo, and then disappear back into the blue yonder. I haven't got a clue how to do that last bit, if you have mail me at comments@chisholm.nl.
A-Frame is a framework for building 3D/AR/VR experiences inside web pages. The home of A-Frame is https://aframe.io/
I thought that A-Frame complemented some of the things that I had been doing and linked them to using 3D in web pages so, to quickly gain some insight into A-Frame and what it does I joined the FutureLearn course, Construct a Virtual Reality Experience presented by Lancaster University. I found it a simple way to get a "heads up" (pun intended) on the use of 3D and VR in web pages.
The thing that most impressed me about the power of A-Frame is when I viewed the Hello World webpage on my phone. Immediately it responded to the position of the phone and the model in the viewport was reoriented in response to my movements. It is a very powerful tool. The next thing is to find great things to do with it.
The screenshot video shows the phone tilted from side to side, then a complete rotation of the phone where the objects go off the screen behind the viewer to the right and enter the view again from the left. (The screen recording was made using ADV Screen Recorder.)
The best way to get a look at how simple building a VR world with A-Frame can be is to look at the A-Frame "Hello World" example. In a web page of just 18 lines and using only seven lines of A-Frame code "Hello World" creates a world, four objects and some text. The code is here:
  <html>
  <head>
    <meta charset="UTF-8">
    <title>Hello World! with AFrame</title>
    <script src="https://aframe.io/releases/1.0.4/aframe.min.js"></script>
  </head>
  <body>
    <!--Actual scene here -->
    <a-scene background="color: #FAFAFA">
      <!--Actual scene elements here -->
      <a-box position="-1 0.5 -3" rotation="0 45 0" color="#4CC3D9"></a-box>
      <a-sphere position="0 1.25 -5" radius="1.25" color="#EF2D5E"></a-sphere>
      <a-cylinder position="1 0.75 -3" radius="0.5" height="1.5" color="#FFC65D"></a-cylinder>
      <a-plane position="0 0 -4" rotation="-90 0 0" width="4" height="4" color="#7BC8A4"></a-plane>
      <a-text value="Hello, World!" color="#0000FF" position="-0.5 2.5 -3.0"></a-text>
    </a-scene>
    </body>
  </html>
When inside the world you can use arrow keys, or "W","S","A","D", to move forward, backwards, and sideways, with the mouse you can move up, down, and around your viewing axis. If you use a phone then tilting and rotating the phone will give you a 360° view as you twirl around on your access. Yes, literally, look at the web page on your phone and turn round or spin yourself on your office chair.
Pressing the VR button you will be full screen on a PC and on a phone the screen will split into two areas that can be used with a viewer like the Google Cardboard
You can open HelloWorld.html in a new tab here.
HelloWorld.html Code
The code above operates as follows:
It's as simple as that! (To start with!)
More complex scenes can be built by bringing in images to provide texture, and even ready built 3d models can be imported. This is how the "Hello Transit" scene at the top of this page was made.
The code for "Hello Transit" is very similar to Hello World but introduces:
If you want to try out the code you can download the universe image here and the model of the van here. The code is here:
<html>
<head>
<meta charset="UTF-8">
<title>Hello Transit! with AFrame</title>
<!-- ©2021 Andrew Chisholm, all rights reserved -->
<script src="https://aframe.io/releases/1.0.4/aframe.min.js"></script>
</head>
<body>
<div>
<a-scene background="color: #AAAAAA" > <!-- Default background but not seen in practice-->
<a-assets>
<!-- The "universe" asset is a background with stars and nebulae created in
Blender using procedural shading. Initially I tried to export it using
GLTF but that didn't succeed. I created the tile version,
"ustarandnebs02atile.png", from a camera image but that was distorted at the north
and south poles. Finally, I found that the best way to extract the universe was to
use the stars and nebulae shading as a texture on a sphere, then to "bake" it. This
creates a uv based file that wraps a sphere neatly including taking account of the polar
dimensional distortion. -->
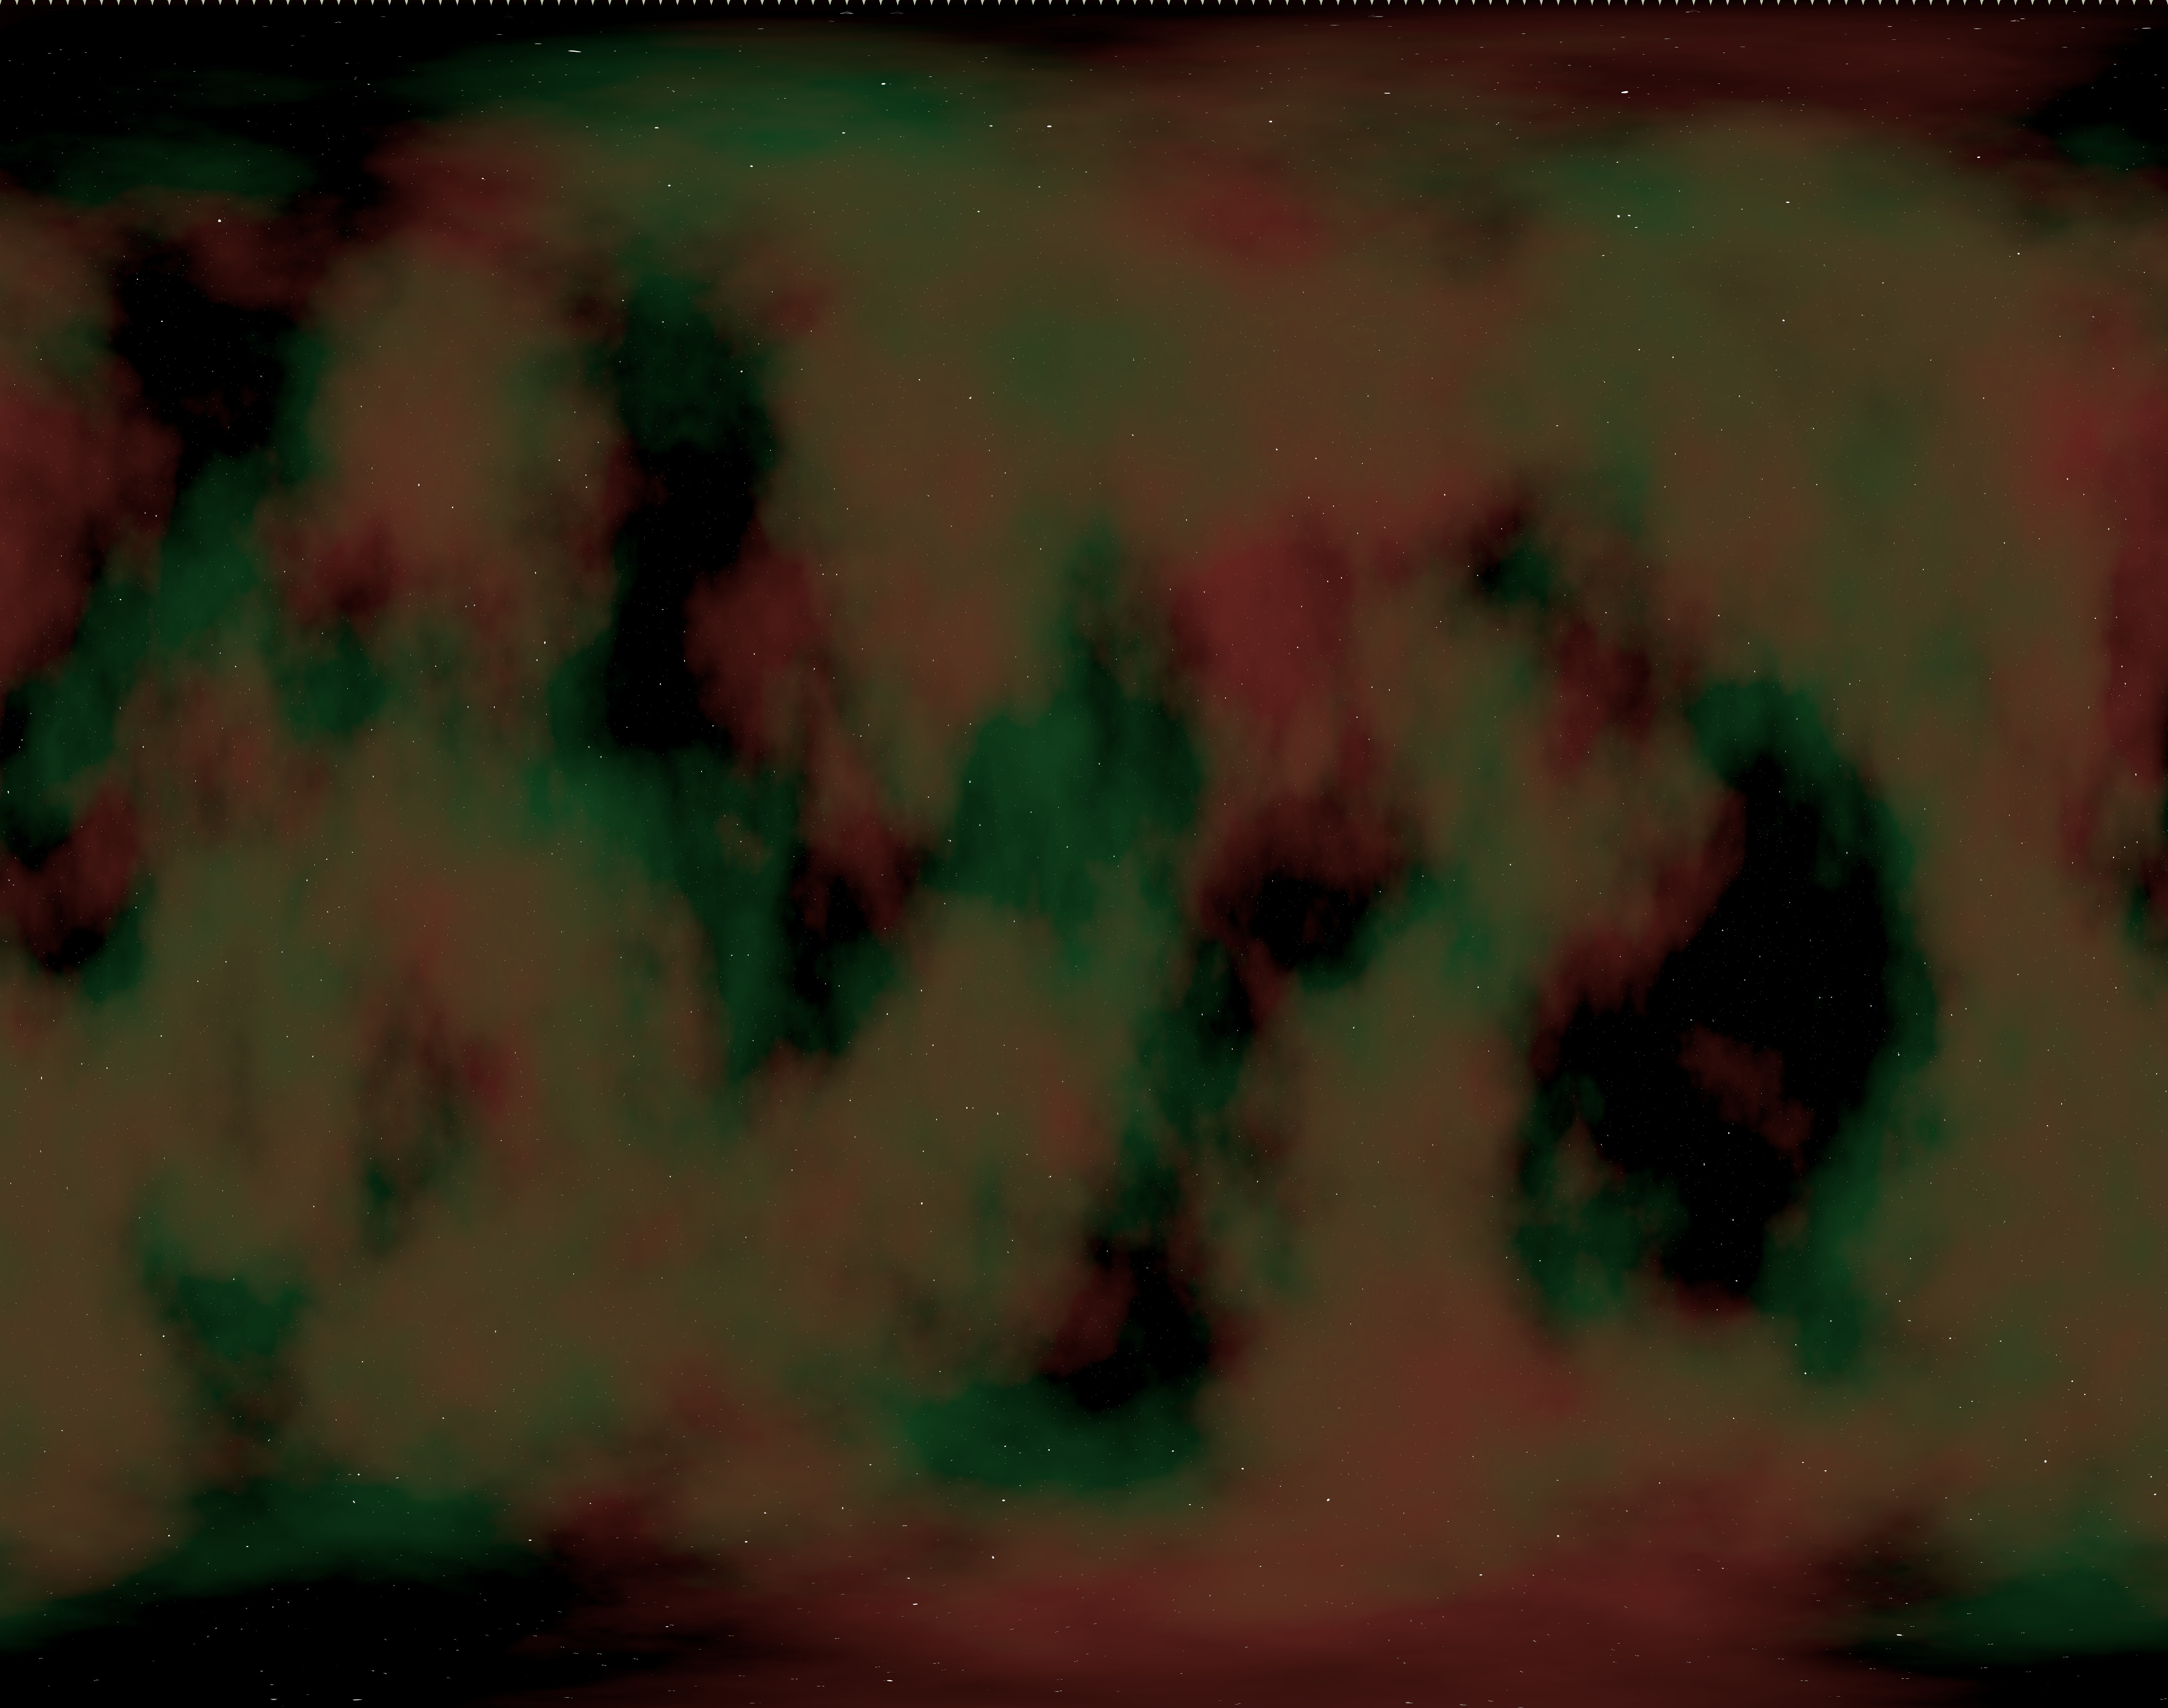
<img id="universe" src="images/UNebulae101trimmed-5118x4032.jpg">
<!-- tempovan.gltf is a gltf export from Blender of a transit van model that I made for a music
video. -->
<a-asset-item id="transit" src="3dmodels/tempovan.gltf"></a-asset-item>
</a-assets>
<!-- To examine the model uncomment the next line, the model then appears at 0,0,0. Use the
mouse and W,A,S,D, keys to move around (and through!) -->
<!--a-entity gltf-model="#transit" position="0 0.5 0" rotation="0 0 0"></a-entity-->
<!-- The thin box is used as an invisible plane to spin the transit van on to make it orbit. -->
<a-entity id="foundation" geometry="primitive: box ; width: 50; height: 0.1; depth: 50"
material="color: red; opacity:0.0" animation="property:rotation.y;from:0;to:360;
dur:10000;dir:normal;loop:true;easing:linear" position="5 0 -5" rotation="0 0 0"
opacity="0.3">
<!--The transit van sits on the thin box at one corner. As it must move with the box (it is a
child of the box) its a-entity entry is located within the box's a-entity tags. The rotation
presents the left side of the van to the spin axis. The van's animation wobbles it from
side to side-->
<a-entity gltf-model="#transit" position="30 0.5 30" rotation="0 -45 0"
animation="property:rotation.z;from:+45;to:-45;
dur:3500;dir:alternate;loop:true;easing:easeInOutSine"></a-entity>
</a-entity>
<!-- There are two text objects because text is only visible from one side of the object!!
The default location of the pivot of the text object is at one end. Anchor="center" puts
the text field pivot point in the middle of the field so that it spins around the mid-point.
Align="center" puts the text in the middle of the field-->
<a-text value="The Orbiting Tranny Van!" align="center" anchor="center" color="#AAAAFF"
position="0 2.5 -3.0" rotation="0 0 0" animation="property:rotation.y;from:0;to:360;
dur:10000;dir:normal;loop:true;easing:linear"></a-text>
<a-text value="The Orbiting Tranny Van!" align="center" anchor="center" color="#AAAAFF"
position="0 2.5 -3.0" rotation="0 180 0" animation="property:rotation.y;from:180;to:540;
dur:10000;dir:normal;loop:true;easing:linear"></a-text>
<!-- The universe animation makes it revolve once in 5 minutes, 300000 ms -->
<a-sky src="#universe" animation="property:rotation.y;from:360;to:0;
dur:300000;dir:normal;loop:true;easing:linear"></a-sky>
</a-scene>
</div>
</body>
</html>
HelloTransit.html Code
The code is similar in structure to Hello World it operates as follows:
The Universe object was quite difficult to make. I tried a number of ways to get the stars and nebulae texture out of Blender with little success. The problem is that if you try to apply a normal rectangular .jpg file to the A-Frame sky you get distortions at the top and bottom and possibly a vertical seam at some point in the view. Eventually, I found the best way to extract the universe was to use the stars and nebulae procedural shading as a texture on a sphere, then to "bake" it. Baking creates a uv based file that wraps a sphere neatly including taking account of the polar dimensional distortion. When the image of from the sphere is used as the sky in A-Frame the axes, the most northerly and southerly points are neatly wrapped.
As I mentioned before the home of A-Frame is https://aframe.io/. Documentation, examples and loads of other resources are available from there.
If you have any questions about the content in this page or you would like to see any more information please contact me by email at comments@chisholm.nl.